Getting Started
Getting started with Ivandt SDK
Introduction
This guide will walk you through embedding Ivandt and creating your first data import flow. By the end, you'll have a working importer that can handle Excel and CSV uploads with validation and transformation.
Installation
Install the Ivandt SDK via npm:
npm install @ivandt/importerOr use the CDN for quick prototyping:
<script src="https://cdn.ivandt.com/importer/latest.js"></script>Framework-specific wrappers are also available:
npm install @ivandt/importer-react
npm install @ivandt/importer-angular
npm install @ivandt/importer-vue
These wrappers are thin layers around the core web component that make integration slightly more framework-friendly, but the web component itself works everywhere.
Get your API keys
Ivandt uses a two-key authentication system for maximum security:
- Secret Key (
sk_live_xxx) - Used on your backend to create session tokens. Never expose this in frontend code. - Public Key (
pk_live_xxx) - Used in your frontend SDK along with the session token. Safe to expose, restricted by allowed origins.
Obtain your keys
- Sign up at ivandt.com
- Navigate to Dashboard → Environments
- Create a new environment
- Copy both your Public Key and Secret Key
Security warning
Store your secret key securely in environment variables on your backend. Never commit it to version control or expose it in client-side code. The secret key has full access to your Ivandt account.
Create a Session Token
Before initializing the importer, you need to create a short-lived session token from your backend. This token is generated using your secret key and is valid for 1h by default (max 1 day).
Store the Secret Key in your backend and create a simple route that can communicate with Ivandt API.
// backend/api/create-session.ts
const SECRET_KEY = process.env.IVANDT_SECRET_KEY; // sk_live_xxx...
const PUBLIC_KEY = process.env.IVANDT_PUBLIC_KEY; // pk_live_xxx...

async function createSessionToken(
  templateId: string,
  endUserId: string,
  endUserEmail?: string,
) {
  const response = await fetch('https://api.ivandt.com/v1/sessions', {
    method: 'POST',
    headers: {
      Authorization: `Bearer ${SECRET_KEY}`,
      'Content-Type': 'application/json',
    },
    body: JSON.stringify({
      templateId,    // Optional: UUID of your import template, for tracking and audit trail
      endUserId,     // Your user's ID (for audit trail and tracking)
      endUserEmail,  // Optional: user's email for tracking
      expiresIn: 900 // Optional: 15 minutes (default=1h), max 1d
    }),
  });

  if (!response.ok) {
    throw new Error(`Failed to create session: ${response.statusText}`);
  }

  const data = await response.json();
  return {
    sessionToken: data.sessionToken,
    expiresAt: data.expiresAt,
  };
}

// Express.js endpoint example
app.post('/api/get-import-session', async (req, res) => {
  try {
    const userId = req.user.id;        // From your auth system
    const userEmail = req.user.email;
    const { templateId } = req.body;

    const session = await createSessionToken(templateId, userId, userEmail);

    res.json({
      sessionToken: session.sessionToken,
      publicKey: PUBLIC_KEY,
      expiresAt: session.expiresAt,
    });
  } catch (error) {
    console.error('Failed to create session:', error);
    res.status(500).json({ error: 'Failed to create import session' });
  }
});
See the Environments page for examples in Python, Java, and .NET.
See the Sessions API for more details.
Basic setup
Now that you have your keys and session token endpoint, let's embed the importer.
<html>
<head>
  <script src="https://cdn.ivandt.com/importer/latest.js"></script>
</head>
<body>
  <ivt-importer id="importer"></ivt-importer>

  <script>
    async function initializeImporter() {
      // Fetch session token from YOUR backend
      const response = await fetch('/api/get-import-session', {
        method: 'POST',
        headers: { 'Content-Type': 'application/json' },
        body: JSON.stringify({
          templateId: 'your-template-uuid',
        }),
      });

      const { sessionToken, publicKey } = await response.json();

      // Configure the importer
      const importer = document.getElementById('importer');
      importer.schema = {
        title: 'Customer Import',
        publicKey,      // pk_live_xxx...
        sessionToken,   // JWT token from your backend
        fields: [
          {
            type: 'text',
            label: 'Full Name',
            key: 'fullName',
            validators: [{ type: 'required' }]
          },
          {
            type: 'text',
            label: 'Email',
            key: 'email',
            validators: [
              { type: 'required' },
              { type: 'email' }
            ]
          }
        ],

        // Event handlers
        eventHandlers: {
          onSubmit: async (tableRows, meta, cellErrors, submitMeta) => {
            console.log('Imported data:', tableRows);

            // Send to your backend
            await fetch('/api/customers', {
              method: 'POST',
              headers: { 'Content-Type': 'application/json' },
              body: JSON.stringify({ data: tableRows, meta })
            });
          }
        }
      };
    }

    initializeImporter();
  </script>
</body>
</html>
See the Examples Repo for working examples of Nuxt , Next and Angular that you can clone and start using.
Importer Variants
Ivandt provides three variants of the importer component, all using the same core ivt-importer element:
Full-page Importer
<ivt-importer-page/>
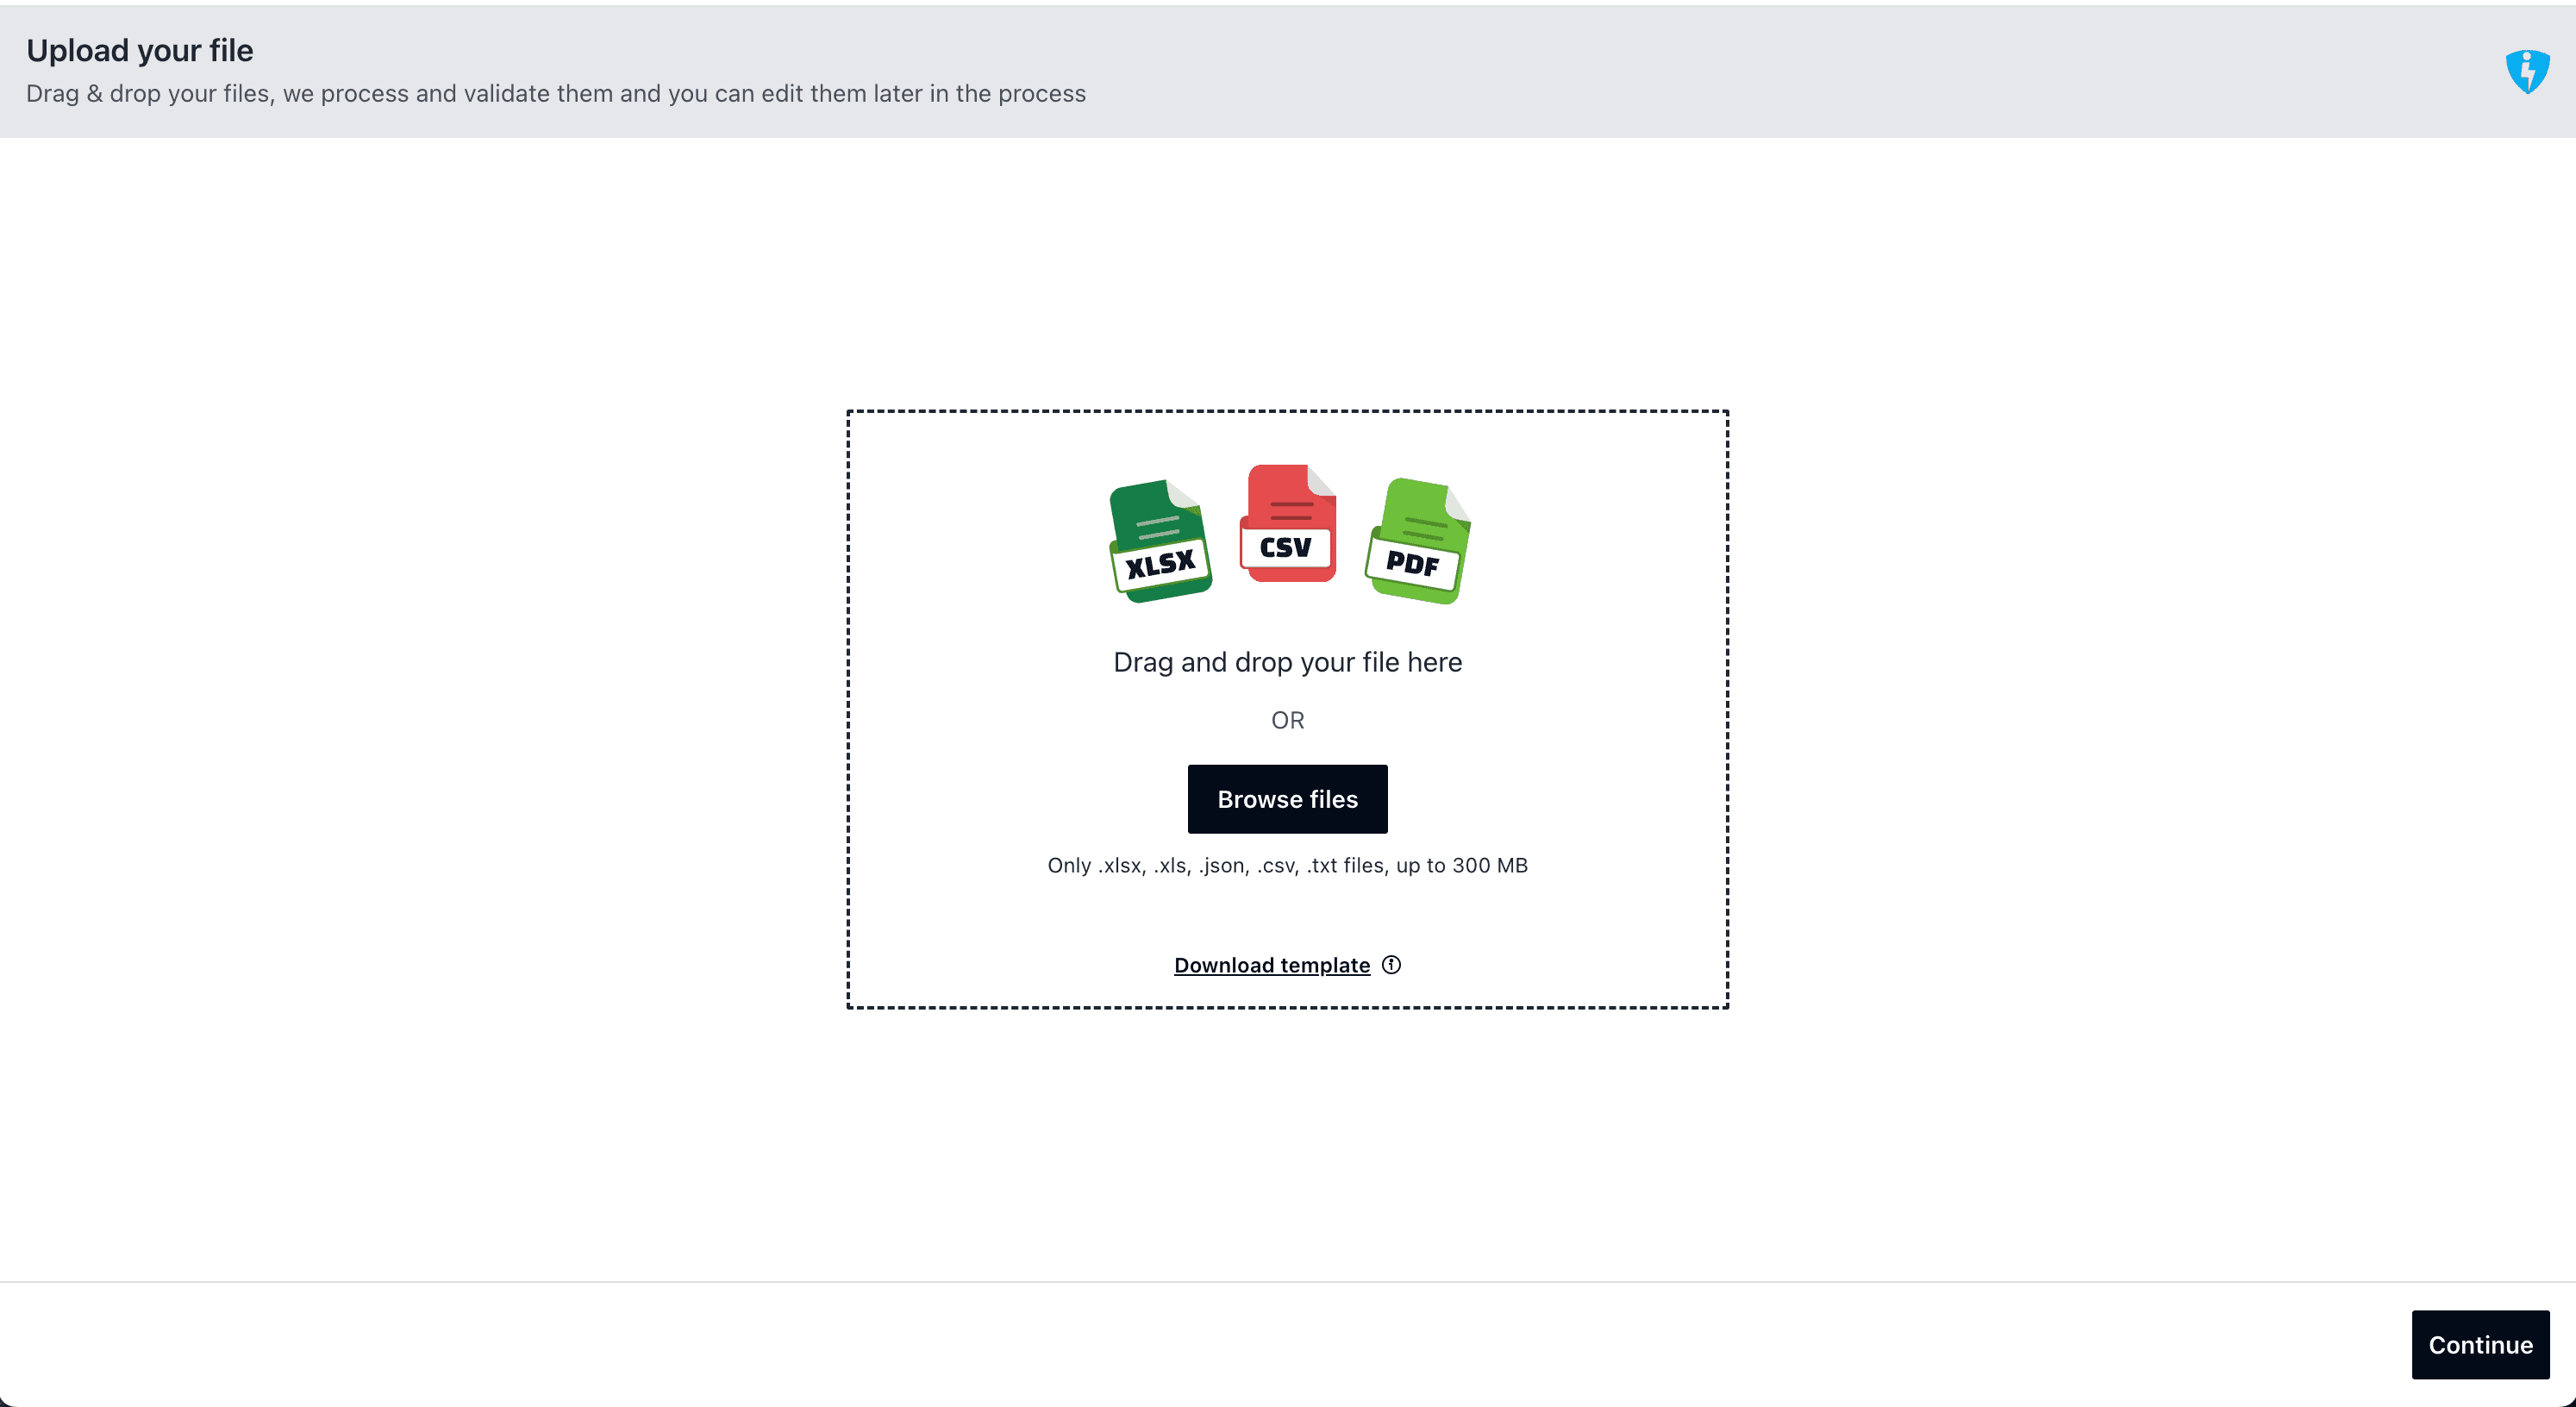
Use ivt-importer-page when you want the importer to take up the entire viewport. Perfect for dedicated import pages where users navigate to /import and see only the importer.
<ivt-importer-page id="importer"></ivt-importer-page>Modal Dialog
<ivt-importer-dialog/>
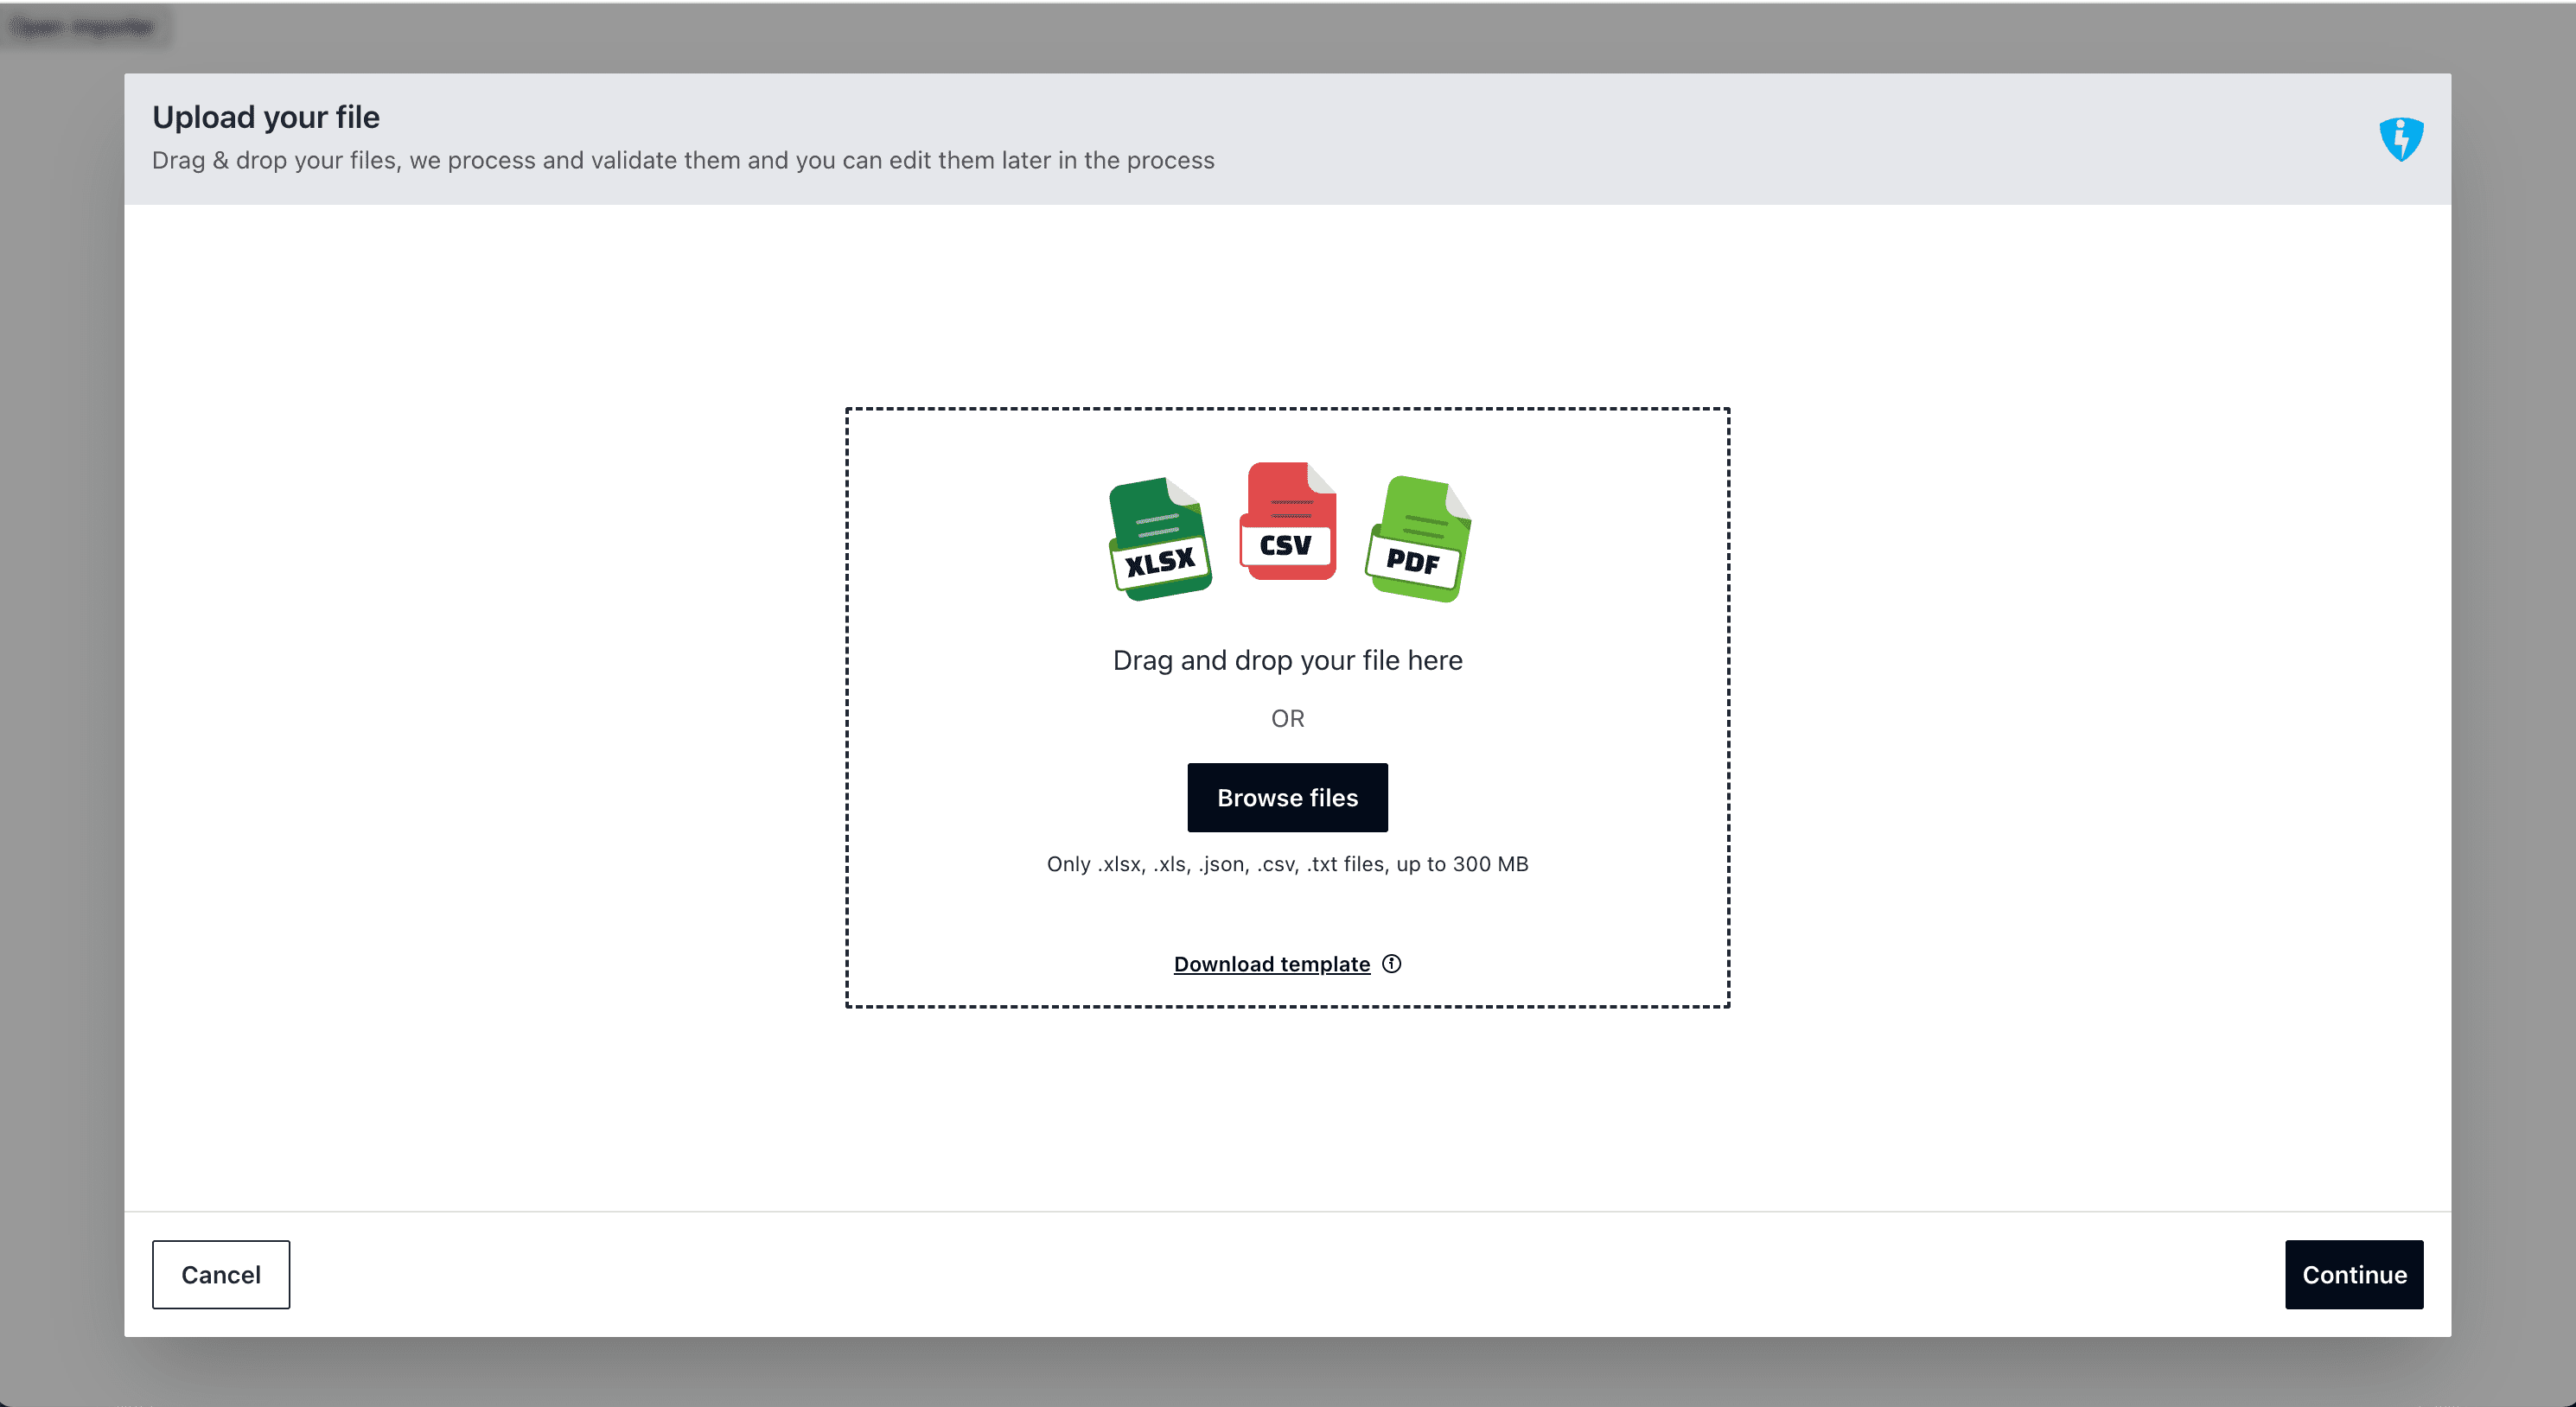
Use ivt-importer-dialog when you have your own trigger button and want the importer in a modal.
<button id="open-btn">Start Import</button>
<ivt-importer-dialog id="importer" open="false"></ivt-importer-dialog>

<script>
  const dialogImporter = document.getElementById('importer');
  const button = document.getElementById('open-btn');

  button.addEventListener('click', () => {
    dialogImporter.open = true;
  });

  dialogImporter.onClose  =  () => {
    console.log('Dialog close event')
  }
</script>
Button + Dialog
<ivt-importer-button/>

Use ivt-importer-button for the simplest setup — a complete button + dialog solution. The button is built-in and opens the importer dialog when clicked.
<ivt-importer-button id="importer"></ivt-importer-button>This is the recommended option for most use cases. Just configure the schema and you're done — no need to manage button state or dialog visibility.
Your first schema
A schema is a JSON/TypeScript object that defines your data structure, validation rules, and transformation logic. Here's a more complete example:
import type { IvtSchema } from '@ivandt/importer';

const schema: IvtSchema = {
  title: 'Customer Import',
  key:'customer_import',
  publicKey: 'pk_live_xxx...',
  sessionToken: 'eyJhbGc...',  // From your backend

  // Optional: Configure import behavior
  stepsConfig: {
    uploadFileStep: {
      maxFileSize: 50 * 1024 * 1024  // 50MB
    },
    mapHeadersStep: {
      intelligentImport: true  // AI-powered column mapping
    },
    reviewStep: {
      invalidDataBehaviour: 'block_submit'  // block the submission if there's any unresolved errors
    }
  },

  fields: [
    {
      type: 'text',
      label: 'Full Name',
      key: 'fullName',
      validators: [
        { type: 'required' },
        { type: 'minLength', value: 2 }
      ]
    },
    {
      type: 'text',
      label: 'Email',
      key: 'email',
      validators: [
        { type: 'required' },
        { type: 'email' }
      ]
    },
    {
      type: 'numeric',
      label: 'Age',
      key: 'age',
      validators: [
        { type: 'range', min: 18, max: 120 }
      ]
    },
    {
      type: 'dropdown',
      label: 'Country',
      key: 'country',
      options: [
        { value: 'US', label: 'United States' },
        { value: 'UK', label: 'United Kingdom' },
        { value: 'AU', label: 'Australia' }
      ],
      validators: [{ type: 'required' }]
    }
  ]
};
See the Schema Reference for detailed documentation.
Handle submission
When users complete the import, you receive clean, validated JSON through the onSubmit event handler in your schema:
import type { IvtSchema } from '@ivandt/importer';

const schema: IvtSchema = {
  title: 'Customer Import',
  publicKey: 'pk_live_xxx...',
  sessionToken: 'eyJhbGc...',
  fields: [
    // ... your fields
  ],

  // Event handlers
  eventHandlers: {
    onSubmit: async (tableRows, meta, cellErrors, submitMeta) => {
      // tableRows: Array of validated rows
      console.log('Rows:', tableRows);
      // [
      //   { fullName: 'John Doe', email: 'john@example.com', age: 30, country: 'US' },
      //   { fullName: 'Jane Smith', email: 'jane@example.com', age: 25, country: 'UK' }
      // ]

      // meta: Import metadata (file info, row counts, etc.)
      console.log('Metadata:', meta);

      // cellErrors: Any unresolved validation errors
      console.log('Errors:', cellErrors);

      // submitMeta: Server response with import ID and tracking info
      console.log('Submit meta:', submitMeta);

      // Send to your backend
      await fetch('/api/customers/bulk', {
        method: 'POST',
        headers: { 'Content-Type': 'application/json' },
        body: JSON.stringify({ data: tableRows, meta })
      });
    },

    onSubmitError: (error) => {
      console.error('Import failed:', error);
      // Handle submission errors
    },

    onFileUpload: (file, fileMeta) => {
      console.log('File uploaded:', file.name, fileMeta);
      // Optionally store the original file
    }
  }
};
See the Events Reference for detailed documentation on all event handlers.